
🎉 Introduction
If you’re looking for a dessert that’s bright, fruity, and easy to make, this Strawberry Poke Cake with Jello is the answer! It’s a classic retro-style dessert made with simple pantry staples but always a crowd favorite.
The magic of a poke cake is in the technique: after baking a soft vanilla cake, you poke holes all over it, then pour strawberry Jello over the top. The Jello seeps down into the cake, creating juicy, colorful layers of flavor. Topped with whipped cream and fresh strawberries, it’s light, refreshing, and irresistible.
Perfect for potlucks, family gatherings, or summer picnics, this cake is quick to prepare and looks as good as it tastes.
🧰 Equipment Needed
- 9×13-inch baking dish
- Mixing bowls (large and medium)
- Measuring cups & spoons
- Whisk
- Fork or wooden skewer (for poking holes)
- Saucepan (for boiling water)
- Spatula
🛒 Ingredients
- 1 box vanilla cake mix
- 3 large eggs
- ⅓ cup vegetable oil
- 1 cup water (for cake mix)
- 1 package strawberry Jello (3 oz)
- 2 cups boiling water (for Jello)
- 1 cup cold water (for Jello)
- 1 whipped topping (8 oz, or homemade whipped cream)
- 2 cups fresh strawberries, sliced
👩🍳 Directions
Step 1: Preheat the Oven
Preheat your oven to 350°F (175°C). Grease a 9×13-inch baking dish lightly with oil or nonstick spray.
Step 2: Prepare the Cake Batter
In a large bowl, combine vanilla cake mix, eggs, vegetable oil, and 1 cup water. Whisk until smooth and well combined.
Step 3: Bake the Cake
Pour the batter into the prepared baking dish. Bake for 28–32 minutes, or until a toothpick inserted in the center comes out clean. Let the cake cool for 15 minutes.
Step 4: Make the Jello
In a medium bowl, dissolve strawberry Jello in 2 cups boiling water. Stir well, then add 1 cup cold water. Mix until fully dissolved.
Step 5: Poke the Cake
Using a fork or wooden skewer, poke holes evenly across the cooled cake, about 1 inch apart.
Step 6: Pour the Jello
Carefully pour the prepared Jello mixture evenly over the cake, allowing it to soak into the holes. Cover and refrigerate for at least 2 hours to set.
Step 7: Add Topping
Once chilled, spread whipped topping evenly over the cake. Garnish with sliced fresh strawberries.
Step 8: Serve and Enjoy
Cut into squares and serve chilled. Each slice will reveal those beautiful strawberry streaks inside!
🍽️ Servings & Timing
- Servings: 12–15 slices
- Prep Time: 15 minutes
- Baking Time: 30 minutes
- Chilling Time: 2 hours
- Total Time: About 2 hours 45 minutes
🧊 Storage & Reheating
- Refrigerator: Store covered for up to 4 days.
- Freezer: Freeze (without whipped topping) for up to 1 month. Thaw overnight in the fridge before topping and serving.
- Reheating: Not needed—this cake is best served chilled.
🥄 Variations
- Mixed Berry Poke Cake: Use raspberry or cherry Jello and top with mixed berries.
- Creamy Layer: Add a layer of cream cheese frosting under the whipped cream for extra richness.
- Lemon Twist: Swap strawberry Jello for lemon Jello and add lemon zest to the topping.
- Chocolate Strawberry Cake: Use chocolate cake mix instead of vanilla for a chocolate-covered strawberry vibe.
- Mini Servings: Make individual poke cakes using cupcake pans.
❓ 10 FAQs
- Can I use homemade cake instead of boxed mix?
Yes, any vanilla or white cake recipe works. - Do I have to poke holes while the cake is warm?
Slightly warm is best—it absorbs Jello better. - Can I use sugar-free Jello?
Yes, sugar-free strawberry Jello works perfectly. - Can I make it ahead of time?
Yes, this cake is ideal to prepare a day in advance. - What’s the best way to poke holes?
A fork or wooden skewer works well for even absorption. - Can I use whipped cream instead of whipped topping?
Absolutely—homemade whipped cream tastes amazing here. - Can I use frozen strawberries?
Yes, thaw them first and drain well before topping. - Do I need to refrigerate the cake after making it?
Yes, keep it chilled for best texture and flavor. - How long should I chill the cake before serving?
At least 2 hours, but overnight is even better. - Can I make this into a layered cake?
Yes—use two round pans, poke, fill with Jello, and stack with whipped cream between layers.
🏁 Conclusion
This Easy Strawberry Poke Cake with Jello is the perfect combination of soft cake, fruity Jello, and creamy whipped topping. It’s light yet indulgent, making it a hit for gatherings, birthdays, or just a fun weekend dessert.
With its colorful layers and sweet strawberry flavor, every slice is guaranteed to impress. Best of all, it’s simple enough for beginner bakers yet delicious enough to keep everyone coming back for seconds.
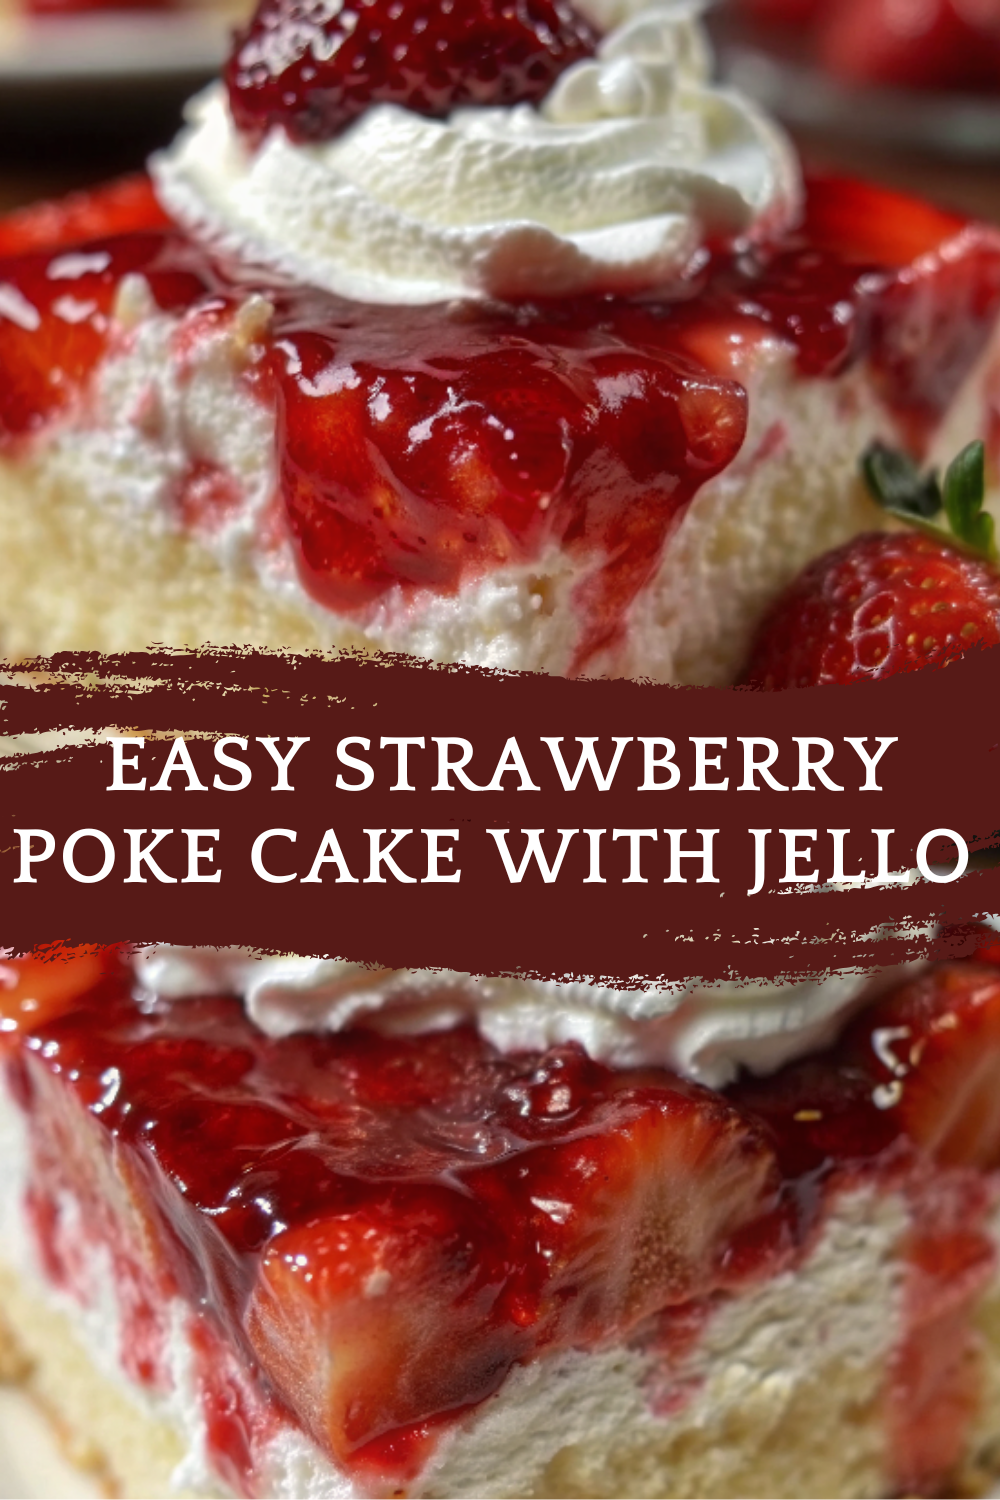
Easy Strawberry Poke Cake with Jello
The magic of a poke cake is in the technique: after baking a soft vanilla cake, you poke holes all over it, then pour strawberry Jello over the top. The Jello seeps down into the cake, creating juicy, colorful layers of flavor. Topped with whipped cream and fresh strawberries, it’s light, refreshing, and irresistible.
Perfect for potlucks, family gatherings, or summer picnics, this cake is quick to prepare and looks as good as it tastes.
Ingredients
✨ Kitchen Essentials You’ll Love
Quick picks I trust for better results, faster prep, and easier cleanup.
-
🍳
Lodge Seasoned Cast Iron Skillet
-
⚡
Instant Pot Duo Plus 9-in-1 Electric
-
🔥
CHEFMAN Digital Air Fryer XL 10L
Disclosure: As an Amazon Associate, I earn from qualifying purchases at no extra cost to you.
Equipment
Method
-
Preheat your oven to 350°F (175°C). Grease a 9×13-inch baking dish lightly with oil or nonstick spray.
-
In a large bowl, combine vanilla cake mix, eggs, vegetable oil, and 1 cup water. Whisk until smooth and well combined.
-
Pour the batter into the prepared baking dish. Bake for 28–32 minutes, or until a toothpick inserted in the center comes out clean. Let the cake cool for 15 minutes.
-
In a medium bowl, dissolve strawberry Jello in 2 cups boiling water. Stir well, then add 1 cup cold water. Mix until fully dissolved.
-
Using a fork or wooden skewer, poke holes evenly across the cooled cake, about 1 inch apart.
-
Carefully pour the prepared Jello mixture evenly over the cake, allowing it to soak into the holes. Cover and refrigerate for at least 2 hours to set.
-
Once chilled, spread whipped topping evenly over the cake. Garnish with sliced fresh strawberries.
-
Cut into squares and serve chilled. Each slice will reveal those beautiful strawberry streaks inside!
Notes
Refrigerator: Store covered for up to 4 days.
Freezer: Freeze (without whipped topping) for up to 1 month. Thaw overnight in the fridge before topping and serving.
Reheating: Not needed—this cake is best served chilled.
🥄 Variations
Mixed Berry Poke Cake: Use raspberry or cherry Jello and top with mixed berries.
Creamy Layer: Add a layer of cream cheese frosting under the whipped cream for extra richness.
Lemon Twist: Swap strawberry Jello for lemon Jello and add lemon zest to the topping.
Chocolate Strawberry Cake: Use chocolate cake mix instead of vanilla for a chocolate-covered strawberry vibe.
Mini Servings: Make individual poke cakes using cupcake pans.
❓ 10 FAQs
Can I use homemade cake instead of boxed mix?
Yes, any vanilla or white cake recipe works.
Do I have to poke holes while the cake is warm?
Slightly warm is best—it absorbs Jello better.
Can I use sugar-free Jello?
Yes, sugar-free strawberry Jello works perfectly.
Can I make it ahead of time?
Yes, this cake is ideal to prepare a day in advance.
What’s the best way to poke holes?
A fork or wooden skewer works well for even absorption.
Can I use whipped cream instead of whipped topping?
Absolutely—homemade whipped cream tastes amazing here.
Can I use frozen strawberries?
Yes, thaw them first and drain well before topping.
Do I need to refrigerate the cake after making it?
Yes, keep it chilled for best texture and flavor.
How long should I chill the cake before serving?
At least 2 hours, but overnight is even better.
Can I make this into a layered cake?
Yes—use two round pans, poke, fill with Jello, and stack with whipped cream between layers.
🏁 Conclusion
This Easy Strawberry Poke Cake with Jello is the perfect combination of soft cake, fruity Jello, and creamy whipped topping. It’s light yet indulgent, making it a hit for gatherings, birthdays, or just a fun weekend dessert.
With its colorful layers and sweet strawberry flavor, every slice is guaranteed to impress. Best of all, it’s simple enough for beginner bakers yet delicious enough to keep everyone coming back for seconds.


Leave a Reply